Mono Print
This is our first project that we created. This type of art is called Mono Printing, with this kind of art you first start with a piece of Plexyglass. Then you have to just paint without thinking, literally. Once you have created the image that you want to display, you take a piece of paper roughly the size of the plexyglass. You then have to press the plexyglass paint side down onto the paper, pressing a little more until it sticks. Afterwards, you run it through a press, adjusting the amount of pressure onto the paper will allow the plexy glass to show more of your painting. Once you've run your painting through the press, you peel back the plexy glass revealing your art piece. Down below you can see my Mono Print that I named "Random".
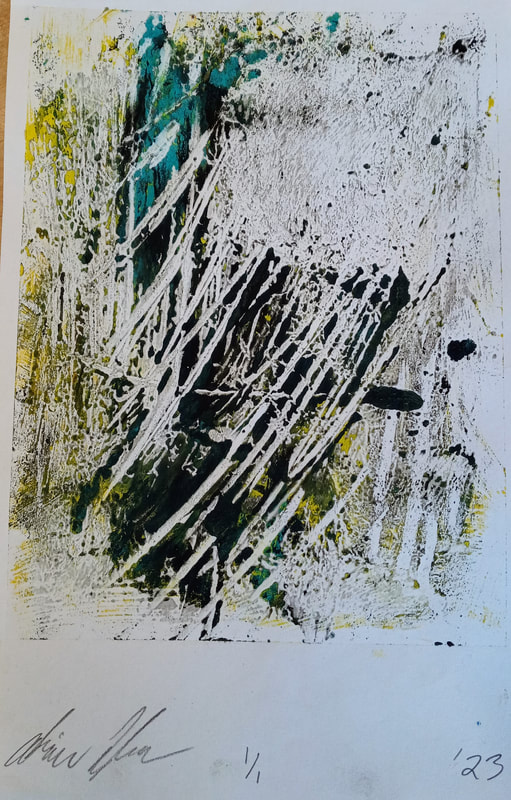
With mono printing, we had to use various tools, such as the natural environment outside and the use of painting knifes, a wire ball and many more. These tools were used to add texture and give it a personal appeal.
Block Print
In this project, we were tasked to make a block print. A block print is essentially when you take a small rectangle sized piece of linoleum to carve, once carved, we used water soluble ink that we put onto the linoleum and paint it on using a tool called a brayer. The brayer tool looks like a small paint roller that is used to put ink onto the block when rolled on. In this project, we had to have a quote which we used as a guide to carve our linoleum. The quote that I chose was, "Have an open mind to everything but not attached to nothing." -Wayne Dyer. With the quote, we had to base the carving of the linoleum on the chosen quote. Down below is a picture of my linoleum carving.
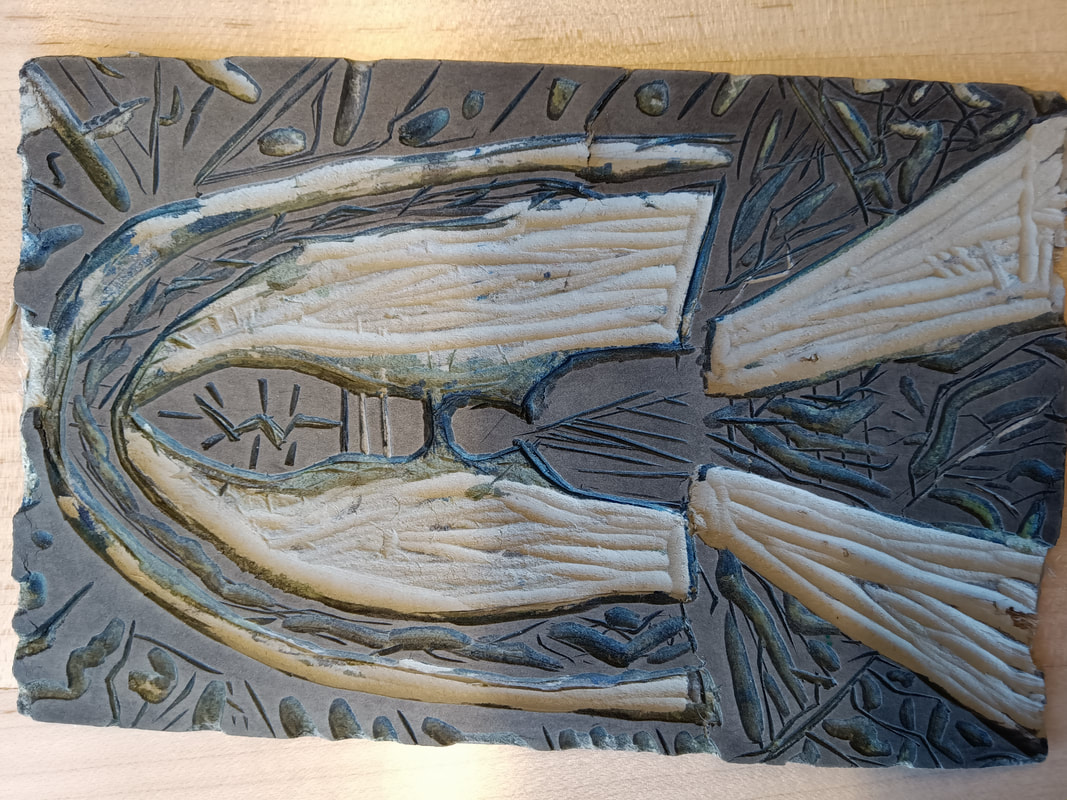
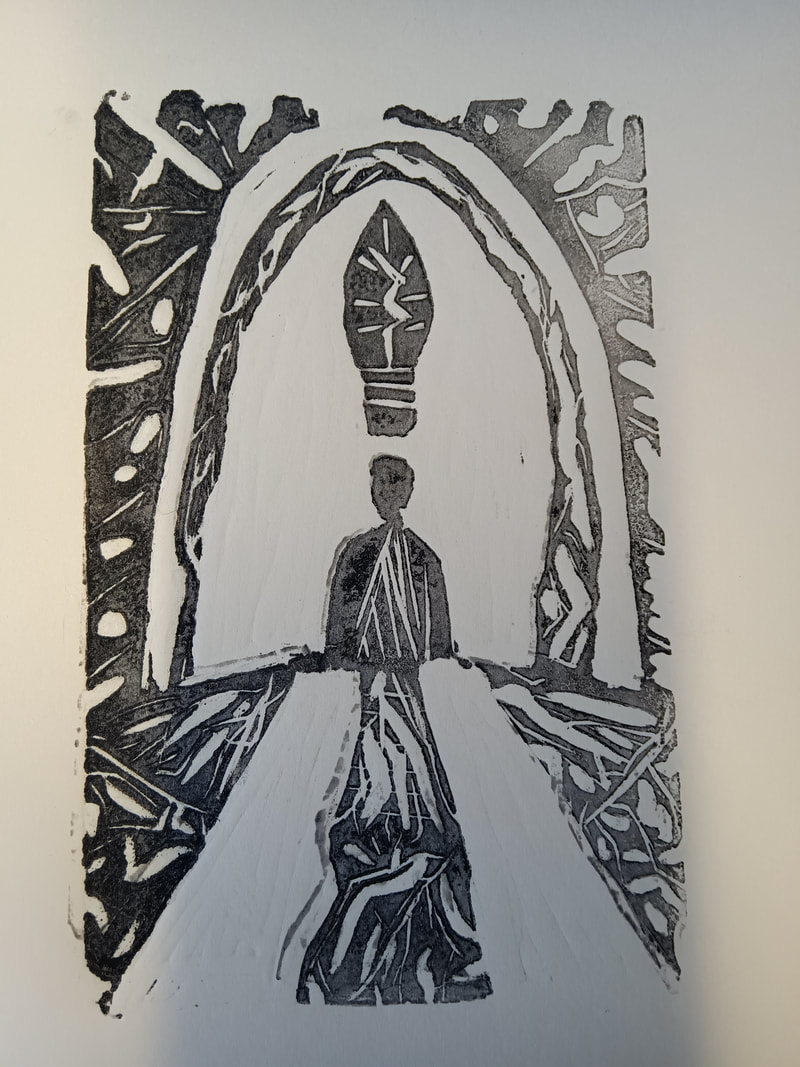
For my initial thinking, I represented the two carved out rows at the bottom as a way to show that the person is not attached to anything. For the rest of the carving I mostly just tried to add some more detail to make it appear nicely on the paper. The paper that I used had a thick sort of material, it had this really clean effect when I got it on the paper and I liked it to use as my final print. Down below you can see my final print of this process.
The Carving Process
To make this print, we had to use some special carving tools that have different head pieces. These different head pieces give the carving tool the ability to carve out a lot of the linoleum or to just barely scratch the surface. When carving the print for the first time, I used the largest size to hopefully get most of the area that I wanted to be carved, the carved areas on the print appear in white and the dark, black spots of ink is are the parts that I did not carve. When carving it can be difficult to get the shape that you want, there were a few things that I wanted to add but it was difficult to get it, for example, I wanted to make a circle and tried it by digging the tool into the linoleum and trying to create a perfect circle but it did not work out as planned, so to fix this issue, I made a bunch of different shaped cuts all around the main design to add a cool effect to it. For my previous design, I had a lot more inked spots than I did for the design, I refined the design for the final print because I did not like how some of the empty space was inked.
Inking Process
Inking the carved linoleum was very easy, to do this, I used a black water soluble ink that washes away when the water touches it. To use the ink, we had to use a knife to spread it onto a painting tray, once onto the painting tray, we used a tool called the brayer. The brayer has the appearance of a paint roller but it is as small as the print itself and has the width of it as well. Once we had the ink in the pan, we roll the brayer multiple times to get a tacky sound, then we use it to roll onto the print, the amount of ink that is added to the print is important because too much ink can result in a bad print. For my final print I went over the print a few times getting all of the ink in the spots that needed it. Once that is done, we put the print onto a paper and run it through a print roller. This print roller ensures that your print gets fully pressed onto the paper, so when the linoleum carving is pulled off it leaves the print behind but inverted.
